No worry, Dimo Video Converter Ultimate is best choice to get the work done. This is a smart tool specially designed for 4K footage users to preview and convert 4K recordings to your wanted video and audio formats, so as to smoothly add them into Sony Vegas, Premiere Pro, Adobe Premiere Elements, Avid Media Composer, Windows Movie Maker, Pinnacle Studio to do further editing.
This is a nice small video converter took kit that is capable of convert 4K to other formats with no quality loss. Plus, lots of video presets are provided for kinds of Android/Windows/iOS devices. It also features basic editing features such as trimming, rotating, cropping, watermarking, adding effecting, 3D creating. By using the trimming action you can clip a specific duration from a video clip and turn it into preferred format. Now just get the right version and follow the guide.
Free Download Dimo Video Converter Ultimate (Win/Mac):


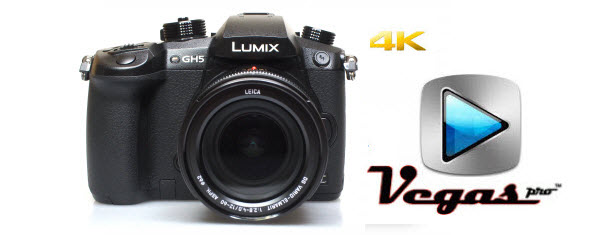
Convert/Import Panasonic GH5 4K to Sony Vegas for smooth editing
Step 1: Load GH5 4K movie
Open up 4K to HD Video Converter as a professional GH5 4K video to Sony Vegas Converter. When its main interface pops up, click "Add File" to import your source files.

2. Select output format
This converter provides a wide variety of formats as output. You can select a format that is natively supported by Sony Vegas Pro as target, such as "WMV" and "MOV" under "Video" column. Select "Format > Video".
3. Edit the videos (Optional)
Click the "Edit" button and edit your videos before processing format conversion. There are main seven functions available: Trim, Adjust, Watermark, Effect and 3D. When enter the edit > Trim interface, you should either drag the slider bar back and forth or set the start time and the end time for the video to get the part you want.
4. Do video/audio settings (Optional)
This converter looks to be a simple program until you see all the rather complex advanced options hidden away in the "Setting" button, where there has support of configuration for each of the variety of video formats and codecs.

In addition to converting video, the program has presets from columns on the left side for dozens of popular devices like the iPad, iPhone, TV, VR and many more. Just select a preset and it will fill in all the settings for you accordingly.
5. Start the conversion
Click "Start" to begin converting video files. After the conversion, you will get the desired videos in the destination folder. After the conversion, click Open to get the output videos. Then, import or just drag and drop the converted 4K files to the timeline for easy editing.
Free Download or Purchase Dimo Video Converter Ultimate:


Kindly Note:
The price of Dimo Video Converter Ultimate for Windows is divided into 1 Year Subscription, Lifetime/Family/Business License: $43.95/Year; $45.95/lifetime license; $95.95/family license(2-4 PCs); $189.95/business pack(5-8 PCs). Get your needed one at purchase page.
Contact us or leave a message at Facebook if you have any issues.
Related Articles:
- Simple Way to Import Panasonic GH5 4K files in Premiere Pro
- Beauty and the Beast Movie Download Free
- Best 7 Blu-ray Players Reviews (Software & Hardware)
- How to Make a GIF Animation from a Video
- Top 5 MKV Players for Windows 10/8.1/7
- Free Download 2017 Billboard Music Awards videos
- How to Convert 2D Video to 3D MKV easily
- Convert H.265 to H.264
- How to Open H.265 Video Files in QuickTime Player
- How to Convert WLMP to AVI on Windows 10/8/7/XP/Vista